kristiecakes

A blog about cakes, cupcakes and other sweet + savory confectionery goodies.

Wednesday, February 26, 2014

How to...Make a Curly Fries Cake

 So continuing with my never ending obsession with re-creating my favorite foods into cakes, I wanted to do something different. I don't know about you guys, but I'm a jack in the box fanatic (hah), particularly their curly fries. There's just something about those fries, I crave them ALL THE TIME (probably because they're deep fried.)

 Things you'll need:
Fondant: (Can be purchased online, or at your local walmart. If you can't find all colors, use food coloring to tint your white fondant to the color you need)
-white
-blue
-red
-brown
-yellow
Yellow Food coloring
Brown Icing Color
Brush (clean or new brush !)
Cake + Frosting of your choice
Knife (for trimming and cutting)
Butterknife (to smooth frosting)
cake board (I used a dinner plate but if you wanna get fancy, you can find a variety of cakeboards online, walmart, or specialty stores)
Cornstarch (to prevent fondant from sticking)
Rolling pin

 Per usual, the first step is always to bake the cake, let it cool completely, and prep your frosting. I used an 8x8 pan since I'm making a "to size" cake. After cake is cooled completely, cut cake in a rectangular shape to mimic the box the fries are held in. I used a jack in the box picture of curly fries for a reference. Don't forget that the bottom of the box is a slightly curved "U" shape.


 Next I wanted to create the illusion of the opening of the box so I trimmed the top in another "U" shape and cut the top half down. Not my best explanation, but see picture for clarification. Also, don't forget that the bottom half of the "box" has rounded corners. Small details are what is gonna set you apart from the rest ;).


 After looking at the picture and my cake, I realized that the shape of the box is actually not a rectangle, but the sides are angled. Trim both sides at an angle.


Frost entire cake and leave in the fridge to set for about 20 minutes.


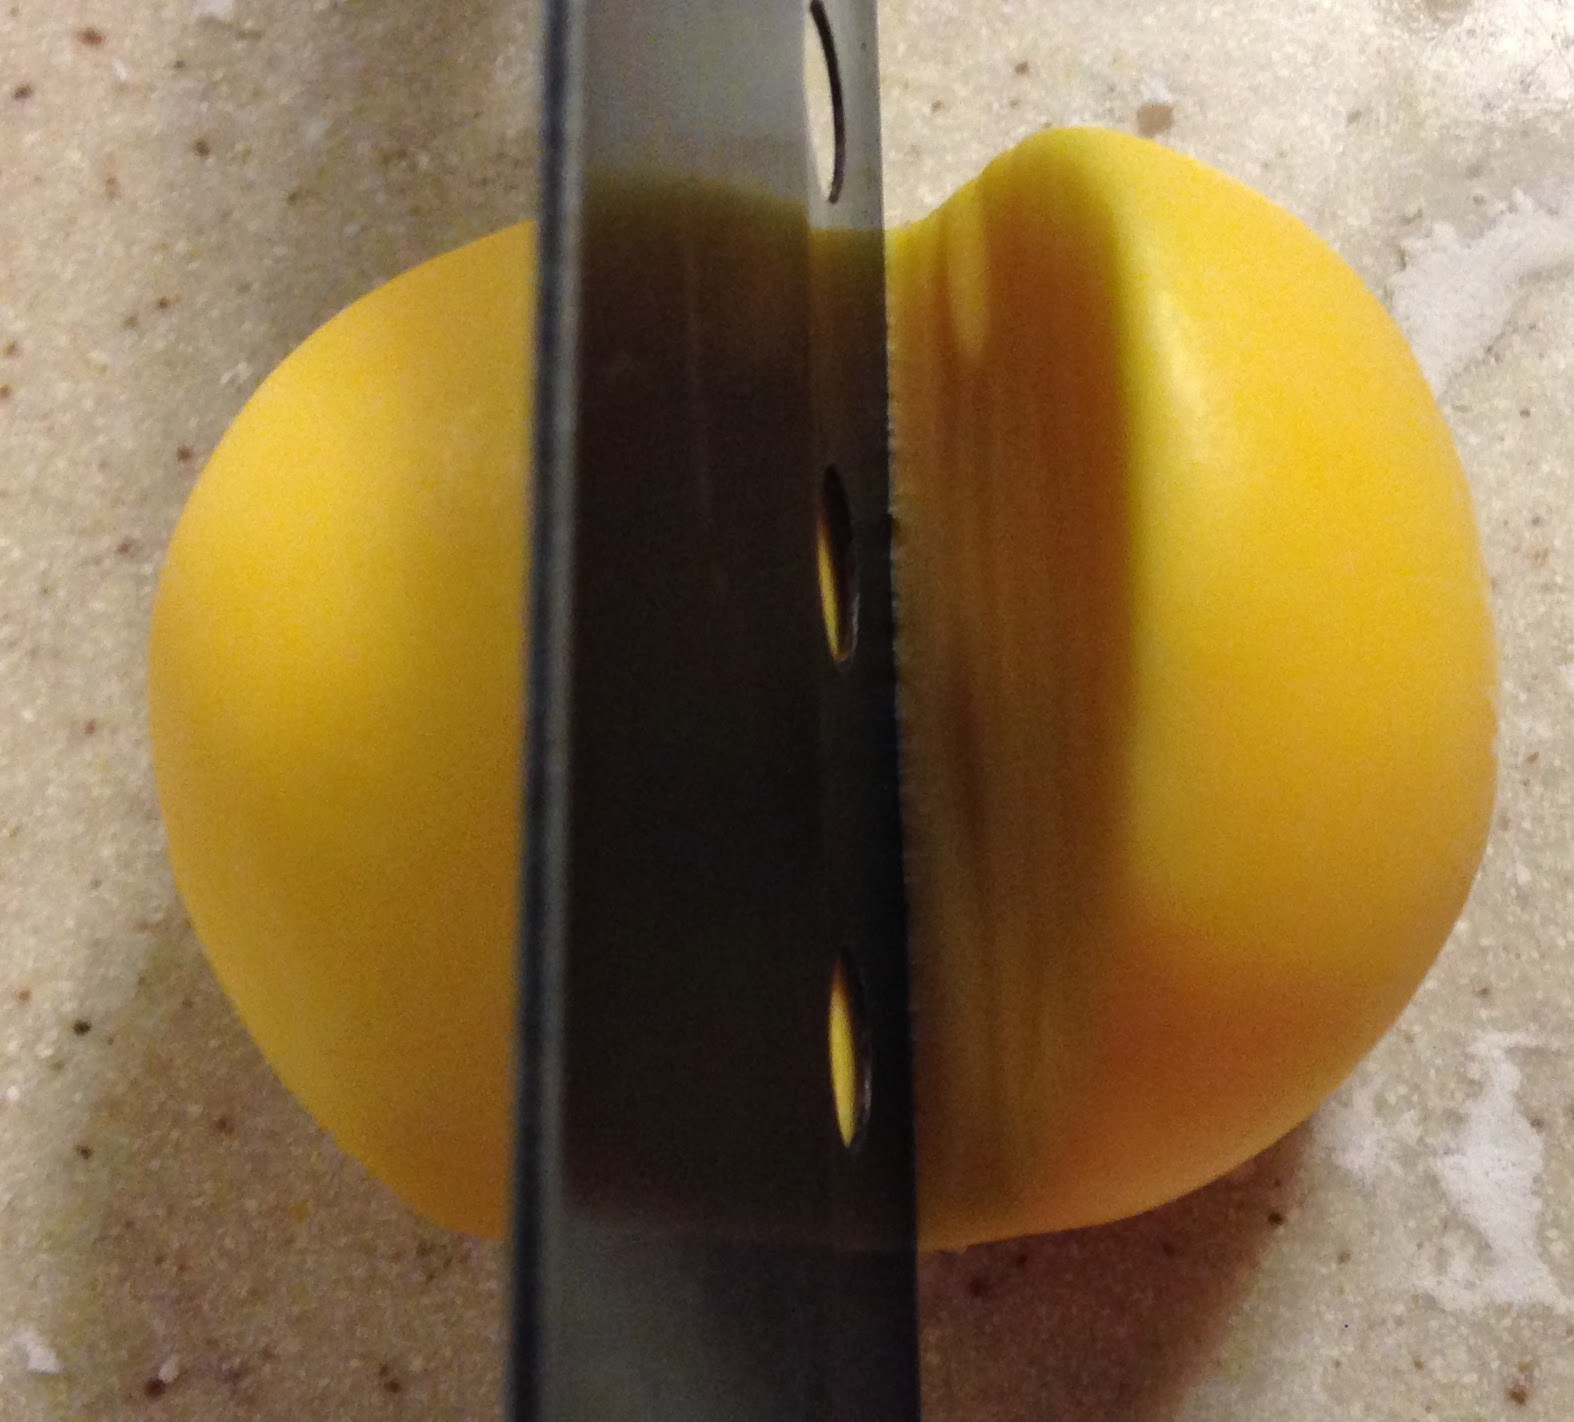
 While the cake is setting We are going to start making the "curly fries." I start with my favorite fry, you know the biggest curly one. I start by making the fondant color, I started with a rust orange color (mix red fondant with a little of blue til your rust color), and added a little brown to create a darker orange-y tint.

Next roll out your fondant to be about 1/2 cm and cut into 1/4 cm strips. The length can vary, you will be making all your fries from these strips. Twist and bend them how you feel looks best. See my examples below


The final step is painting them with yellow food coloring on the outside, to get the golden brown color. Continue making fries until you think you have enough to cover your cake. Set them aside to dry


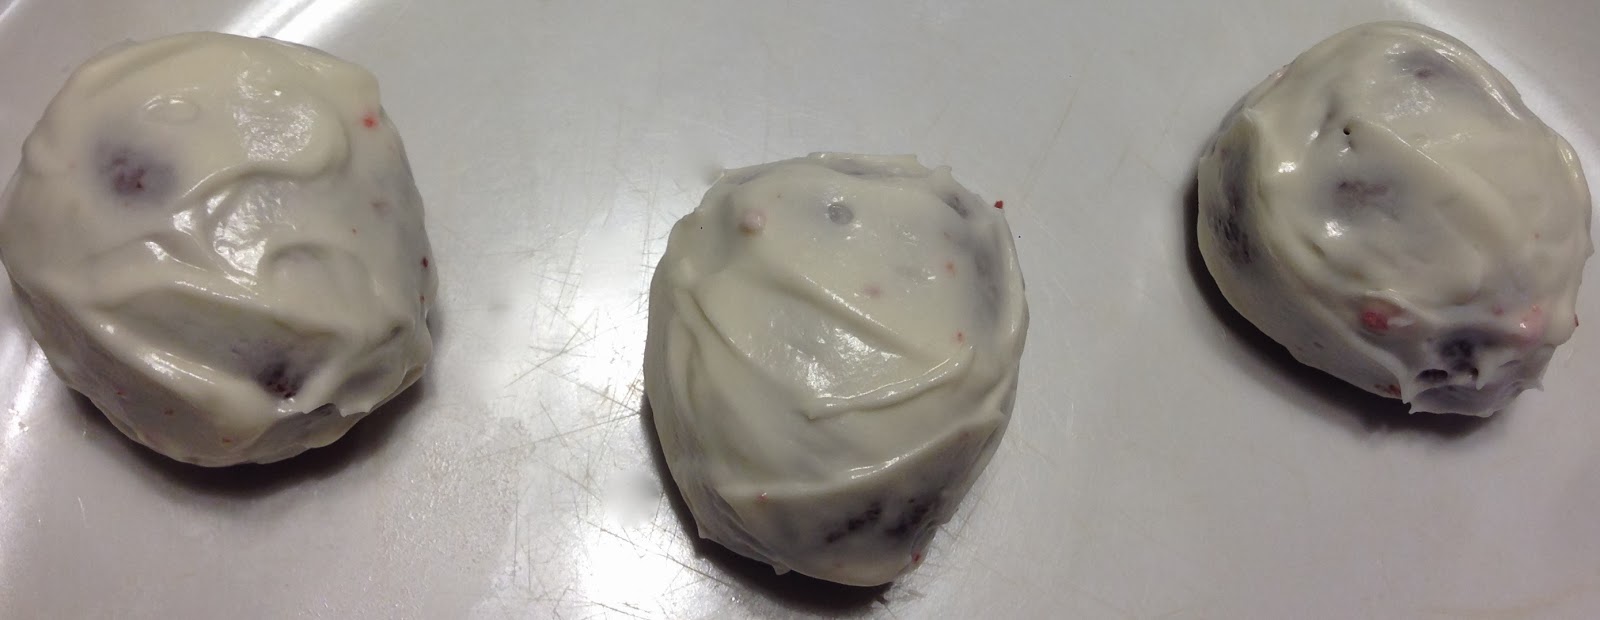
While your fries are drying you can prepare your fondant. We will first prep the white to cover the fry box. Roll out the fondant to 1/4th of cm, and set on the side.


Take out your "curly fries box," and using a clean butter knife, smooth out all lumps. This will prevent any lumps from showing, and add a more realistic flat appearance. One of the benefits of letting your cake sit the fridge to set is when you smooth out the unwanted lumps, it will not change the shape of the cake because the frosting is no longer soft.


Taking the rolled out white fondant, place biggest portion over the middle of the cake. Smooth out sides, make sure to also adhere the fondant to the "curly fries box" opening.


After fondant is pressed to the cake, trim edges and set in fridge.


Finally, I wanted to put a jack in the box-esque logo on the front of the fries. I decided to go with the traditional "jack in the box" red label, but instead replacing "Jack" with fries.


AND best for last is the assembly of all parts! Adhere the logo to the front of the fries. Next take out your cake "fries" and carefully place them as you wish your "fries" to look.


Last detail is optional, I used brown icing color to add "burnt" touches to the color of the fries. Take a little brush and using just a little brown tint the tops and edges of your fries. Blend by brushing through entire fry.


Lots of exciting things have already happened this year, super grateful and excited for what's next! Stay tuned :)
-Kristie


Wednesday, February 19, 2014

How to...Make a "Bacon, Eggs and Rice" cake

 One of my favorite things to do is to re-create things I love, and well I happen to LOVE breakfast. I have a meeting for a cake tasting and I wanted to showcase the taste of the cake AND put a creative twist on it. I thought instead of bringing just 2 cupcakes, I'll bring him "breakfast." The "rice" will be the cake, and I'll add some fondant "bacon" and "eggs" to bring together the platter.

 Things you'll need:
Cake & Frosting of your choice
Fondant (I buy most of my fondant from Walmart, but they can also be bought online. If you cannot find the colors, buy white and use food coloring to color!) :
              -White fondant
              -Yellow Fondant
              -Red Fondant
              -Beige Fondant 
Knife (for shaping "rice" and cutting )
Cake board to build your cake on
Paint brush (new, or used only on your fondant ;)! )
Cocoa Powder
Water
Cornstarch (Prevents fondant from getting sticky, use on hands and surface)

As always, bake your cake and make your frosting as directed and set cake on side to cool completely. I made just two cupcakes (one red velvet, one chocolate), since I'll be creating "2 scoops rice."  While your cake is cooling, you can take this time to make "rice" out of fondant. If you need picture references, please refer to the genki sushi cake here. These "rice" balls are gonna take A LOT of rice grains, so prep as much as you can. They don't all need to be the same size, you'll be layering them anyway.


After cake is completely cooled, grab your cake board and one of your cupcakes.  Taking your knife you are going to want to create round edges to mimic the shape of a rice scoop. Repeat to second cupcake.


Now that both cupcakes are round, take your respective frostings and frost entire "rice" and leave it in the fridge to set for 30 minutes.


While the "rice" is setting, take out your white fondant, and roll it out as thin as possible. Remember, you will be covering it with your "fondant" rice so the thinner, the better. If you fondant starts to get sticky, use your cornstarch on your hands and surface.


When cake is set, take it out and use the white fondant you rolled, and cover the entire rice ball. Start with the biggest surface area in the middle top portion, then smooth out the sides. See pictures for reference. After doing so, let it set in the fridge for 20 minutes while you finish up creating the rest of your fondant "rice" grains.


Next, take out "rice" from the fridge, and apply fondant "rice" grains to the cake. The moisture from the condensation should be enough to adhere to the cake, but if not, using a brush and a little water should help. Repeat to next "rice" ball.


When "rice" grains are all put on, set in the fridge while you work on the "bacon," and "eggs." I start with the "Egg" because the egg is definitely easier. Grab your yellow fondant and roll it into a ball. Taking your knife, cut a section of the rolled fondant into as big as a "yolk" that you would like. Set on side.

 Grab your white fondant and roll it out to be about 1/2 cm thick and cut out the "egg white" section of your "egg." There is no specific shape for egg whites, I found just winging it to be the best solution ;)! 


Using a little water, adhere the yolk in the middle of the egg, or wherever you choose to place it on. You may have to flatten it out a little to get a round egg shape


Next, we will be working on fondant bacon. What I did was look up a picture of what bacon looks like and then broke it down into shapes. So bacon is made up of parts, there's the fat, there's a darker red meat, and the a lighter in-between color of the two. I start with the "fat," get my white fondant, roll it out (1/2cm) and cut out a kind of stem like figure. See below for reference. Bacon is all different, so don't be afraid to veer from my model below.


Grab your red colored fondant and roll it out (1/2cm) and start cutting out "muscle" looking shapes. I leave a little rolled out just in case I need to adjust any of the sizes. (This is another part you can just wing it. Base it off your "fat" stem model and think about your bacon is going to be shaped.)


I then start to assemble the "bacon." Using the fat as the base, I add the red fondant to the sides, and adhere it with a little squish, or if that is not working a little water will also do the trick. Don't worry about the bacon bending and not being straight. As we know, bacon, when cooked, crinkles up so perfection is not necessary.


I then roll out the beige fondant (1/2 cm) and cut out shapes to fill in the rest of the "bacon" strip. When done, I use a little bit of water and a clean brush to go over the entire "bacon strip" to give it a shine. I then transfer it to the cake board.


Once on the cakeboard, adjust, pinch and squish the bacon as necessary to create a "cooked bacon" look. The final step is adding a little bit of cocoa powder to give the "bacon" a crispy, slightly more realistic look. 


 I took it a step extra and used the fondant pieces of the cake to make a happy face but you can place your "breakfast" cake pieces to your liking !


Questions, Comments, Requests? Feel free to email me : kristiesagara@gmail.com

-Kristie

Wednesday, February 12, 2014

How to...Make "Strawberry" Cake Bites

 I don't really know if anyone else really ever has this problem, but I have a plethora of cake (**usually red velvet and I have no idea why it's my number one ordered cake type), and I feel sad letting it sit there. Today I spent a good 5 hours catching up on work (cake life isn't full time..yet !) that I've been neglecting, so naturally I am inclined to de-stress through a creative outlet. Since Valentine's Day is fast approaching, I thought I'd try to experiment and create cute "Strawberries" out of cake. These are perfect, thoughtful gifts for all those special someones in your life :)
 
 So first I started off with my cake in a container and added a tablespoon of cream cheese frosting.


 Start by mixing your cake + icing with a knife, to break up the cake. Mix until the cake+ icing mixture is malleable enough to shape without falling apart (depending on the amount of cake you are working with, you may need to add more frosting). To test this, simply grab some cake and see if you can create a ball. If you can, no additional frosting is necessary.


 Next start creating your "strawberries" out of your cake. I started by rolling into balls, then shaping the tips into a point to resemble a strawberry shape.  Strawberries aren't all perfectly shaped the same so don't worry about making them identical. After shaping, put them in the fridge for about 20 minutes to set.


 After set frost "strawberries" (sans the side that it is sitting on), and leave in fridge to set for another 20 minutes.


 While "strawberries" are setting in the fridge, roll out your red fondant as thin as possible. It is just gonna be used to cover the outside to give the appearance of the "red" color. Also get your green ready, we will be using it for the "leaves" of the strawberries.


 After 20 minutes, take out "strawberries" and smooth out the frosting as much as possible. Cut the red fondant into squares big enough to cover each "strawberry" individually. Place red fondant over the "strawberry" and smooth out the sides. Tip: its better to cut a bigger piece of fondant to cover and trim edges, then to cut too little, especially since fondant is very thin. You want to prevent tearing and have enough fondant to work with.


Trim excess fondant.


Next we will be working on the detail work, starting with the strawberry leaves. Roll out your green fondant to be about 1/2 cm thick. Using a star cookie cutter,  cut out enough "leaves" for all the strawberries you've made. Adhere them to the strawberry with a little water.


The final details will be the strawberry "seeds" and strawberry stem hole on the top. Using a tooth pick make little lines all around the "strawberry," they don't need to be evenly spaced, just eyeball it. See examples below if you need a picture reference.


 Congratulations, you've officially made the cutest strawberry cake bites ! Enjoy !


-Kristie