
Things you'll need:
Cake & Frosting of your choice
Fondant (I buy most of my fondant from Walmart, but they can also be bought online. If you cannot find the colors, buy white and use food coloring to color!) :
-White fondant
-Yellow Fondant
-Red Fondant
-Beige Fondant
Knife (for shaping "rice" and cutting )
Cake board to build your cake on
Paint brush (new, or used only on your fondant ;)! )
Cocoa Powder
Water
Cornstarch (Prevents fondant from getting sticky, use on hands and surface)
As always, bake your cake and make your frosting as directed and set cake on side to cool completely. I made just two cupcakes (one red velvet, one chocolate), since I'll be creating "2 scoops rice." While your cake is cooling, you can take this time to make "rice" out of fondant. If you need picture references, please refer to the genki sushi cake here. These "rice" balls are gonna take A LOT of rice grains, so prep as much as you can. They don't all need to be the same size, you'll be layering them anyway.

After cake is completely cooled, grab your cake board and one of your cupcakes. Taking your knife you are going to want to create round edges to mimic the shape of a rice scoop. Repeat to second cupcake.

Now that both cupcakes are round, take your respective frostings and frost entire "rice" and leave it in the fridge to set for 30 minutes.

While the "rice" is setting, take out your white fondant, and roll it out as thin as possible. Remember, you will be covering it with your "fondant" rice so the thinner, the better. If you fondant starts to get sticky, use your cornstarch on your hands and surface.


When cake is set, take it out and use the white fondant you rolled, and cover the entire rice ball. Start with the biggest surface area in the middle top portion, then smooth out the sides. See pictures for reference. After doing so, let it set in the fridge for 20 minutes while you finish up creating the rest of your fondant "rice" grains.


Next, take out "rice" from the fridge, and apply fondant "rice" grains to the cake. The moisture from the condensation should be enough to adhere to the cake, but if not, using a brush and a little water should help. Repeat to next "rice" ball.


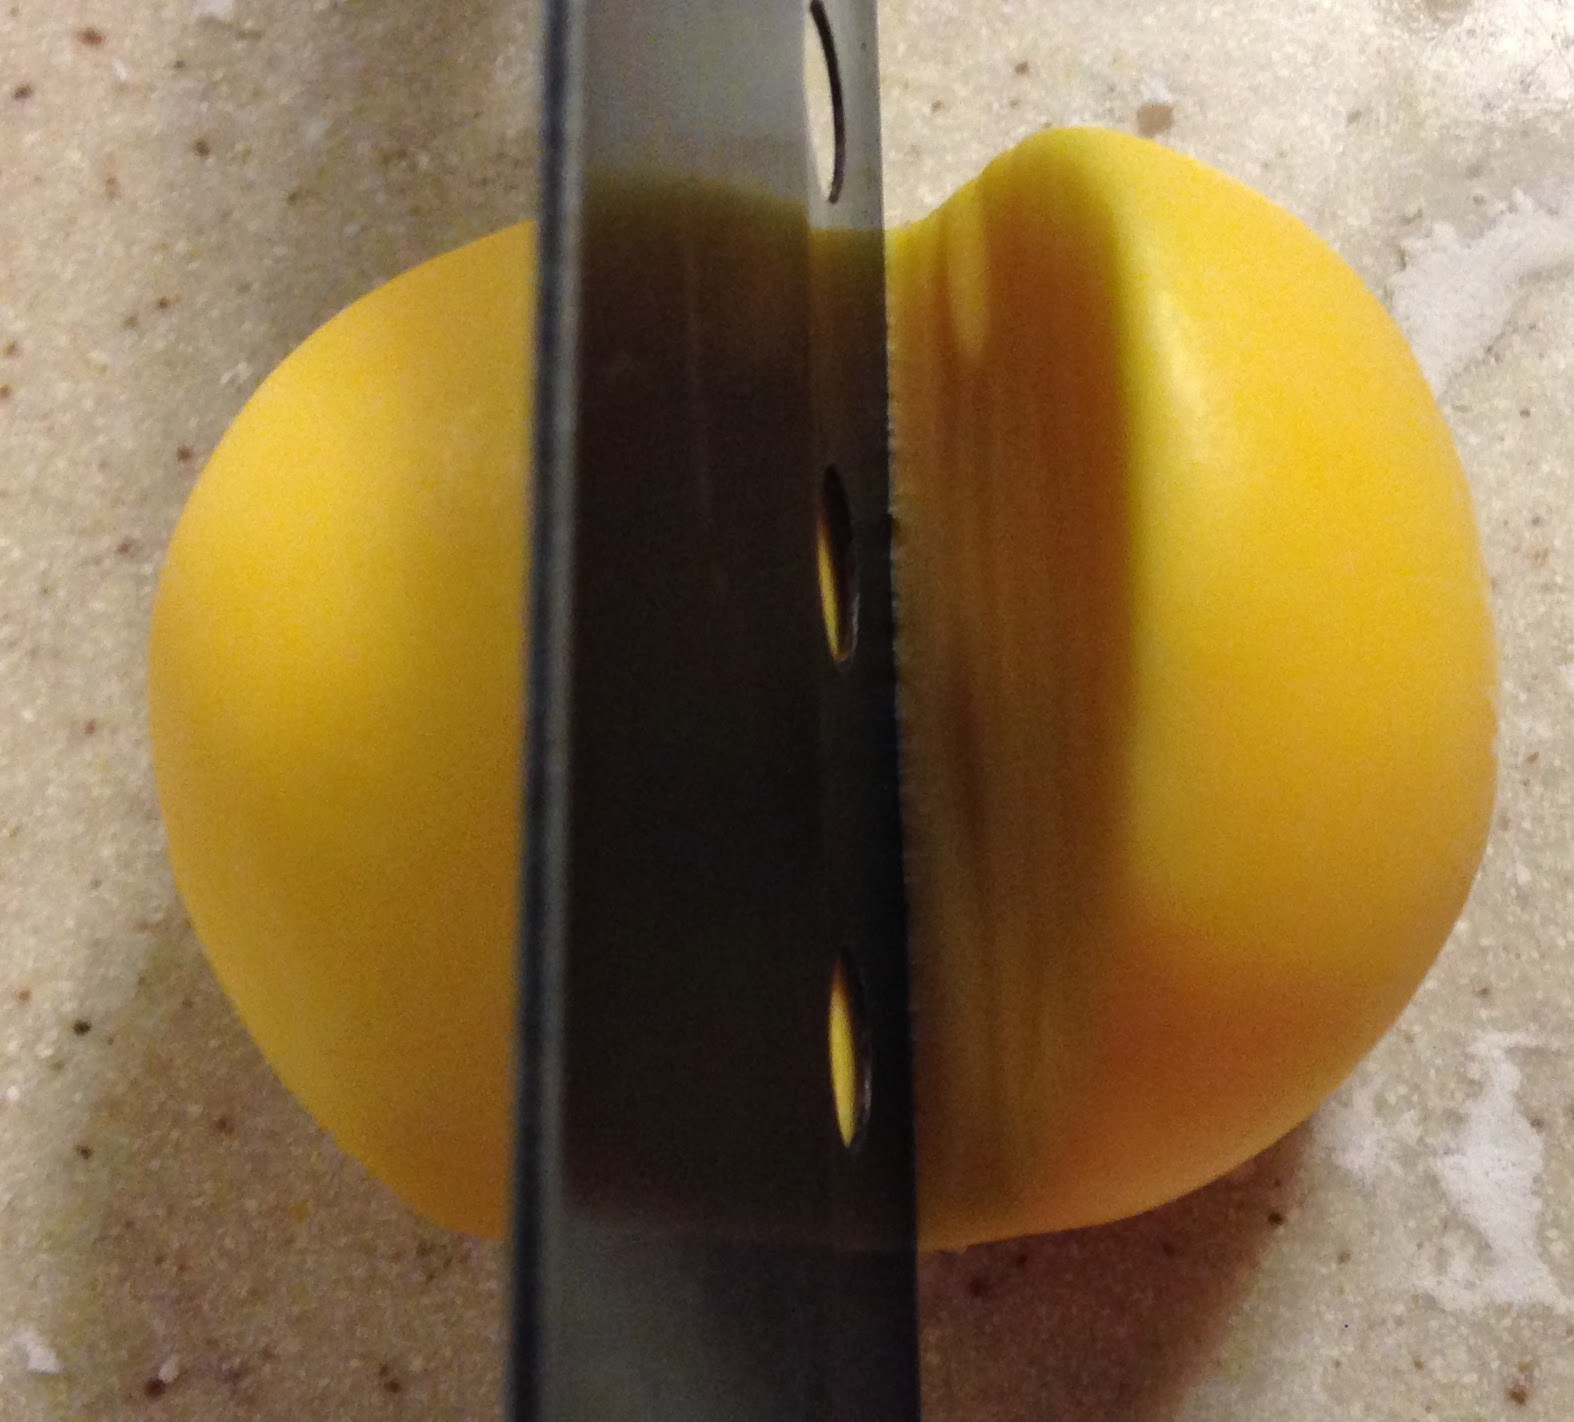
When "rice" grains are all put on, set in the fridge while you work on the "bacon," and "eggs." I start with the "Egg" because the egg is definitely easier. Grab your yellow fondant and roll it into a ball. Taking your knife, cut a section of the rolled fondant into as big as a "yolk" that you would like. Set on side.

Grab your white fondant and roll it out to be about 1/2 cm thick and cut out the "egg white" section of your "egg." There is no specific shape for egg whites, I found just winging it to be the best solution ;)!


Using a little water, adhere the yolk in the middle of the egg, or wherever you choose to place it on. You may have to flatten it out a little to get a round egg shape

Next, we will be working on fondant bacon. What I did was look up a picture of what bacon looks like and then broke it down into shapes. So bacon is made up of parts, there's the fat, there's a darker red meat, and the a lighter in-between color of the two. I start with the "fat," get my white fondant, roll it out (1/2cm) and cut out a kind of stem like figure. See below for reference. Bacon is all different, so don't be afraid to veer from my model below.


Grab your red colored fondant and roll it out (1/2cm) and start cutting out "muscle" looking shapes. I leave a little rolled out just in case I need to adjust any of the sizes. (This is another part you can just wing it. Base it off your "fat" stem model and think about your bacon is going to be shaped.)


I then start to assemble the "bacon." Using the fat as the base, I add the red fondant to the sides, and adhere it with a little squish, or if that is not working a little water will also do the trick. Don't worry about the bacon bending and not being straight. As we know, bacon, when cooked, crinkles up so perfection is not necessary.


I then roll out the beige fondant (1/2 cm) and cut out shapes to fill in the rest of the "bacon" strip. When done, I use a little bit of water and a clean brush to go over the entire "bacon strip" to give it a shine. I then transfer it to the cake board.


Once on the cakeboard, adjust, pinch and squish the bacon as necessary to create a "cooked bacon" look. The final step is adding a little bit of cocoa powder to give the "bacon" a crispy, slightly more realistic look.


I took it a step extra and used the fondant pieces of the cake to make a happy face but you can place your "breakfast" cake pieces to your liking !

Questions, Comments, Requests? Feel free to email me : kristiesagara@gmail.com
-Kristie
No comments:
Post a Comment