
So first I started off with my cake in a container and added a tablespoon of cream cheese frosting.

Start by mixing your cake + icing with a knife, to break up the cake. Mix until the cake+ icing mixture is malleable enough to shape without falling apart (depending on the amount of cake you are working with, you may need to add more frosting). To test this, simply grab some cake and see if you can create a ball. If you can, no additional frosting is necessary.


After set frost "strawberries" (sans the side that it is sitting on), and leave in fridge to set for another 20 minutes.
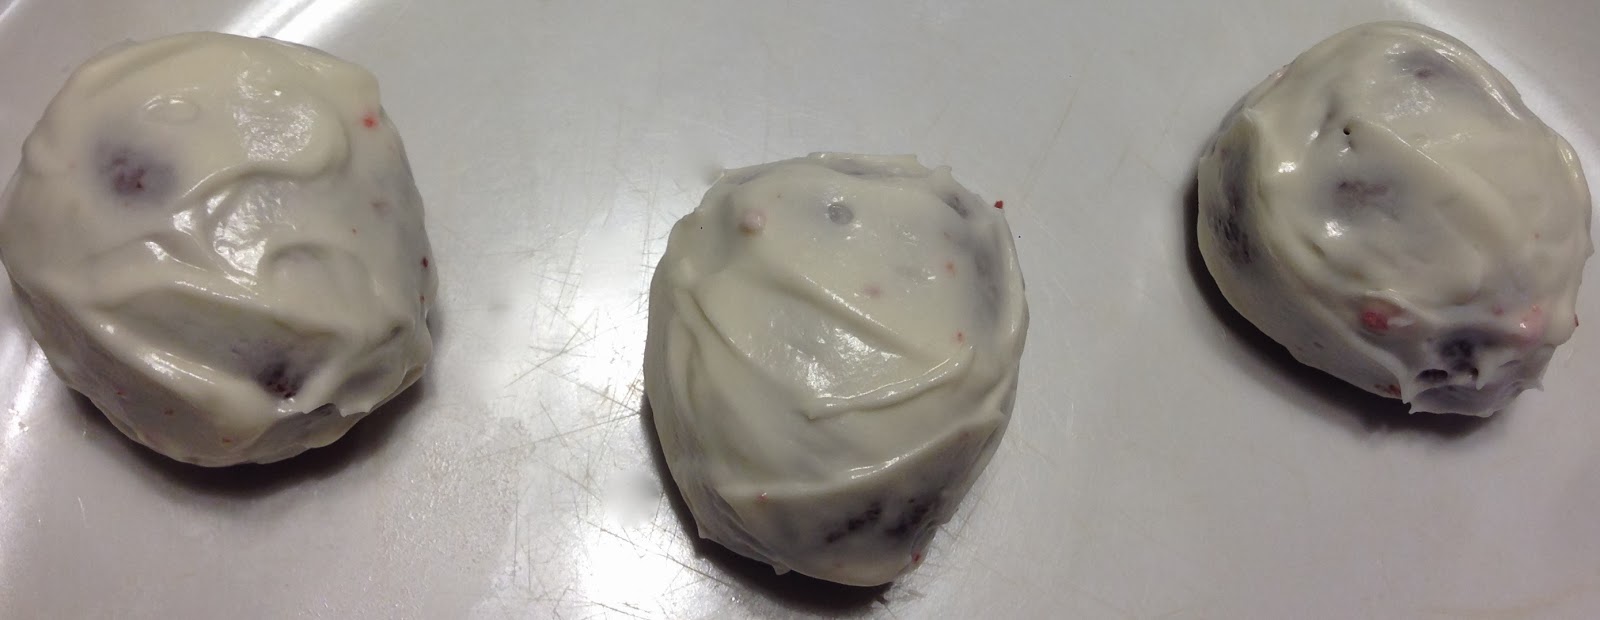
While "strawberries" are setting in the fridge, roll out your red fondant as thin as possible. It is just gonna be used to cover the outside to give the appearance of the "red" color. Also get your green ready, we will be using it for the "leaves" of the strawberries.


After 20 minutes, take out "strawberries" and smooth out the frosting as much as possible. Cut the red fondant into squares big enough to cover each "strawberry" individually. Place red fondant over the "strawberry" and smooth out the sides. Tip: its better to cut a bigger piece of fondant to cover and trim edges, then to cut too little, especially since fondant is very thin. You want to prevent tearing and have enough fondant to work with.


Trim excess fondant.

Next we will be working on the detail work, starting with the strawberry leaves. Roll out your green fondant to be about 1/2 cm thick. Using a star cookie cutter, cut out enough "leaves" for all the strawberries you've made. Adhere them to the strawberry with a little water.


The final details will be the strawberry "seeds" and strawberry stem hole on the top. Using a tooth pick make little lines all around the "strawberry," they don't need to be evenly spaced, just eyeball it. See examples below if you need a picture reference.


Congratulations, you've officially made the cutest strawberry cake bites ! Enjoy !

-Kristie
No comments:
Post a Comment